Using a custom domain with Fly.io
How to set up a custom domain with a shared IPv4 address on Fly.io
From 1 February 2024, Fly.io stopped providing dedicated IPv4 addresses for free and started charging for these. If you don't need a dedicated IPv4 address, it is still possible to have your app publicly-accessible on the web via a shared IPv4 address instead (see instructions in the foregoing hyperlink).
What is less clear from Fly.io's documentation is how this gels with custom domains. I recently received rather high traffic on a Fly.io app and racked up some bandwidth costs so I decided to put Cloudflare in front of my Fly.io app. The process was not as straightforward as I hoped so I thought I'd just document it here for my future self as well as anyone else trying to do the same.
The Fly.io "Use a custom domain" page makes this out to be easier than it actually is: it just states that you have to set a CNAME to your *.fly.dev hostname or A record to your IPv4 address. But as you may have realised since you are on this page, that alone doesn't work and will net you a Cloudflare error code 520 ("Web server is returning an unknown error").

There are two missing steps:
Registering your custom domain
The first missing step is to set up a SSL cert with Fly.io for your custom domain. You need to do this even if you are only accessing your app via HTTP because this is how Fly.io proxies requests to shared IPv4 addresses. Using flyctl, i.e. the Fly.io CLI tool:
flyctl certs add your.custom.domain.comThis is briefly mentioned on the "Use a custom domain" page under the header "Get certified", but it is not made clear that you need to set up a SSL cert even if you are not relying on Fly.io for a SSL certificate.
Cloudflare SSL/TLS encryption
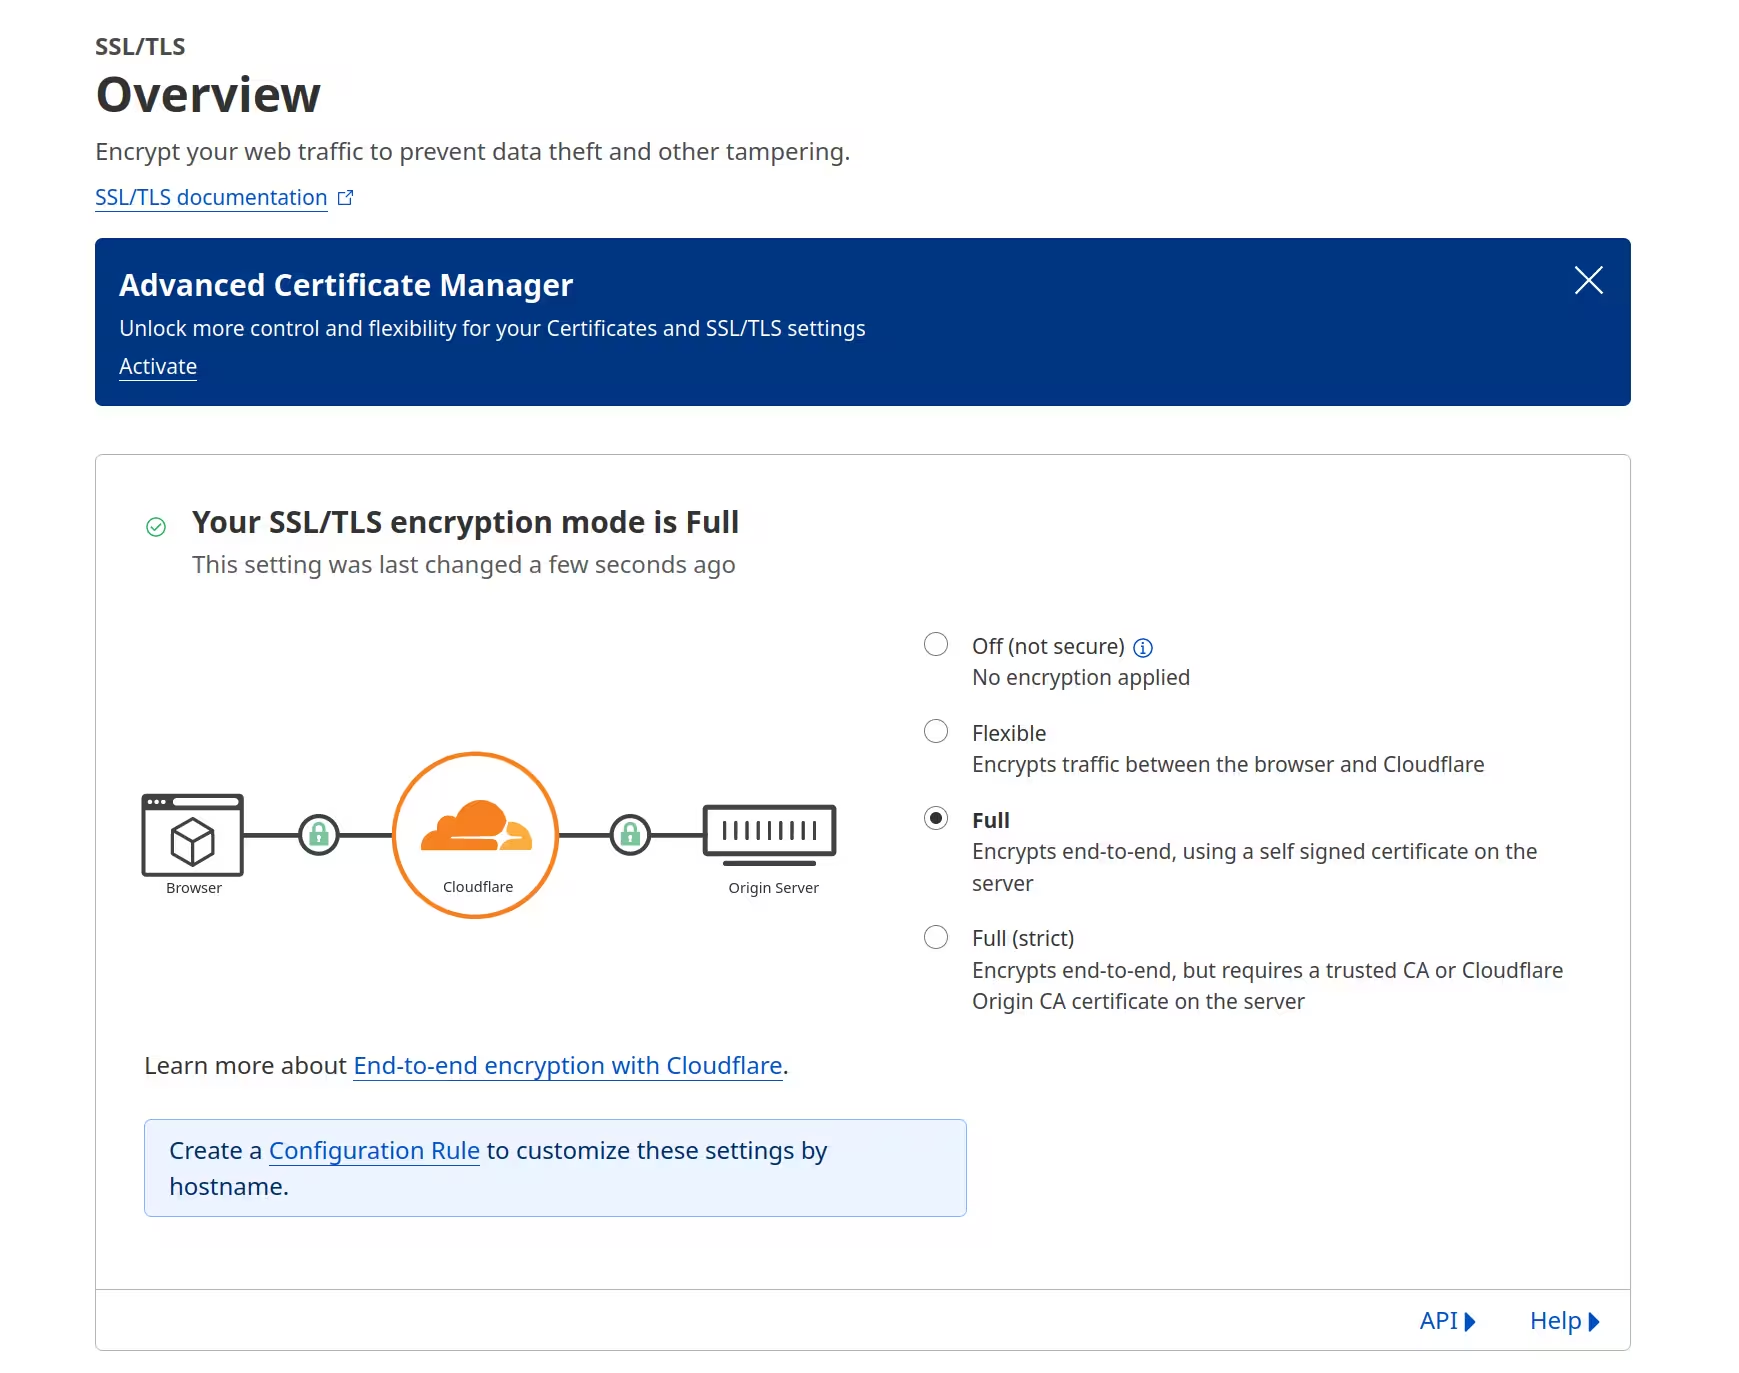
Next, you should turn your SSL/TLS encryption mode on the Cloudflare dashboard to 'Full'.
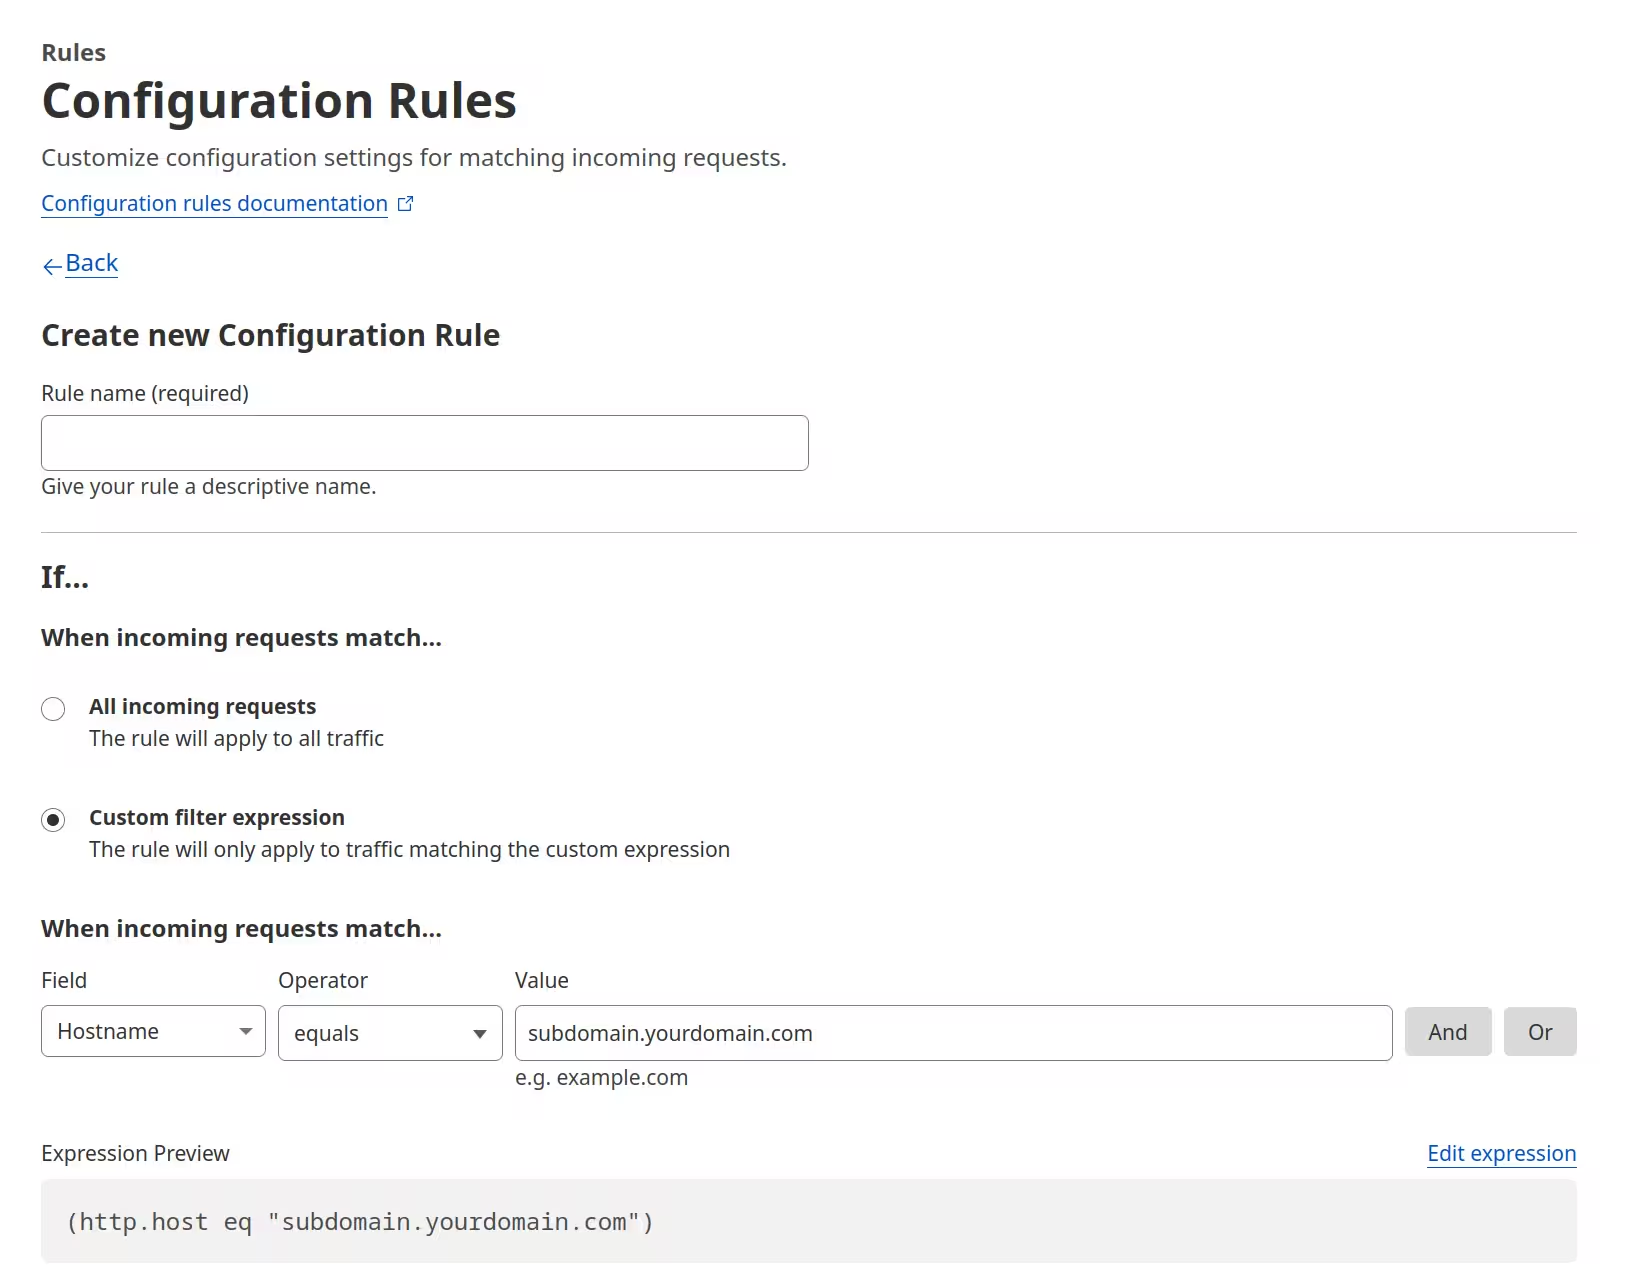
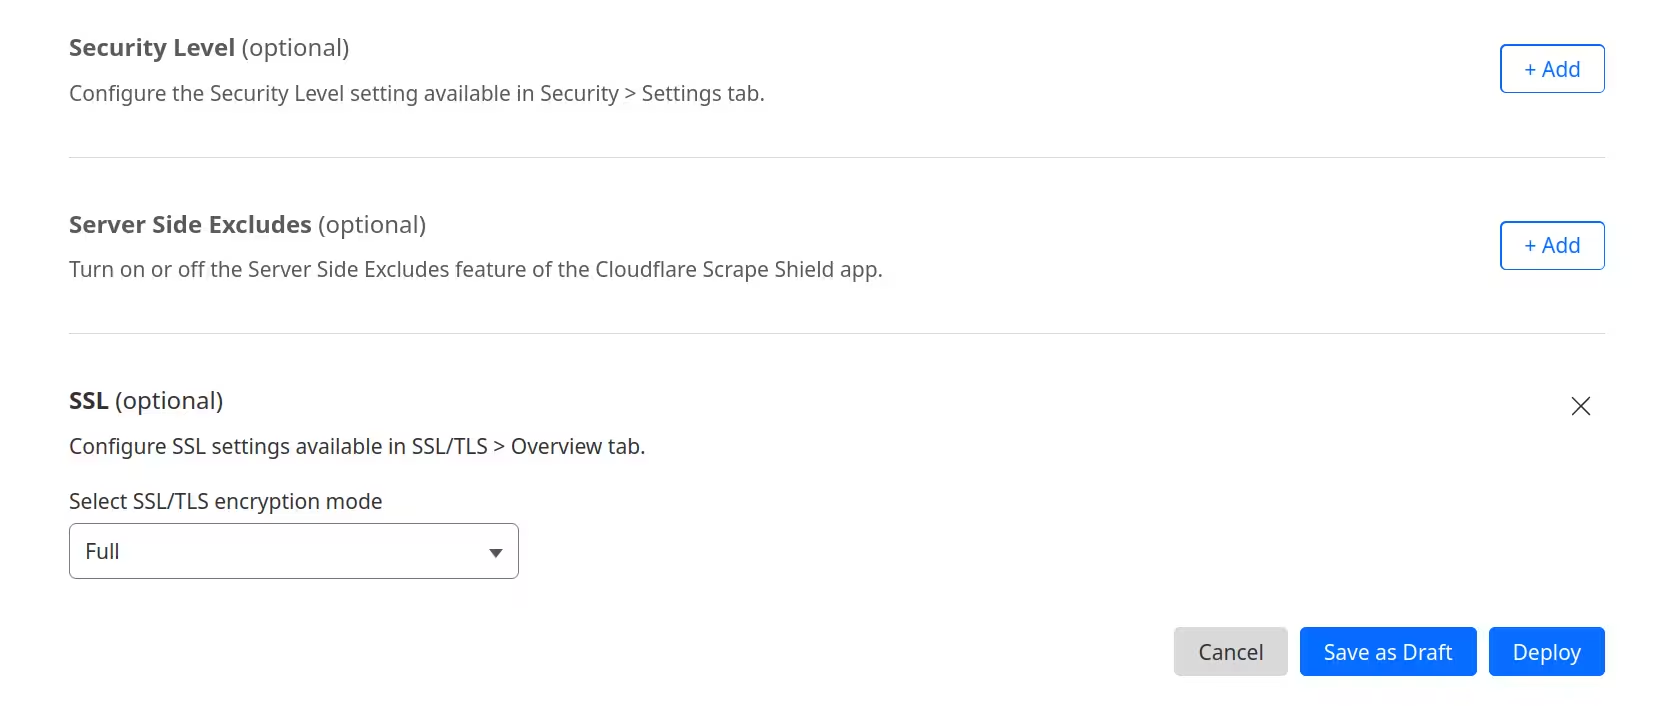
If you have other subdomains on Cloudflare that require less strict encryption, it may be more convenient and less hassle to do this via a Cloudflare configuration rule: